
In this article, we will discuss the proper method for mounting your digital optic. It's essential to pay close attention to the details to ensure a secure and comfortable setup.
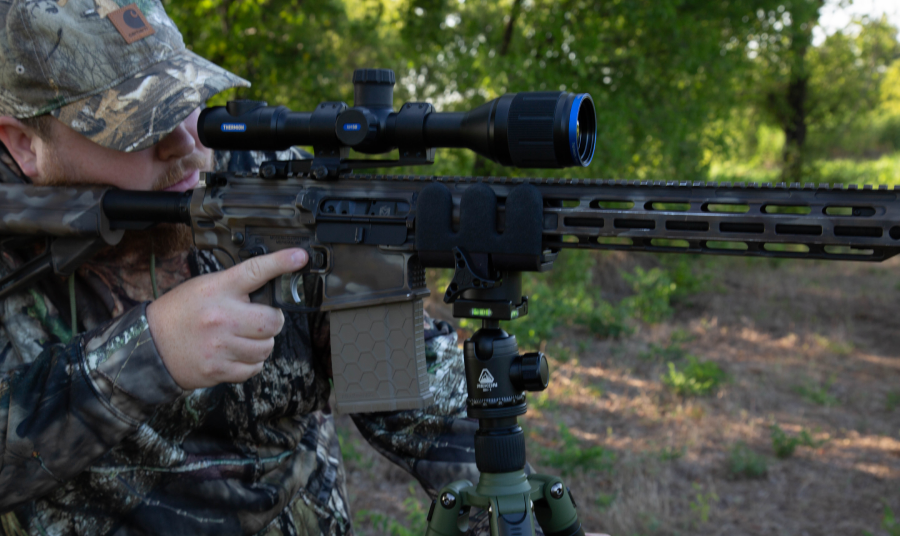
Currently, many digital scopes designed to be mounted with traditional rings, such as the Pulsar Thermion and the Digex C50, are designed with 30mm tubes.
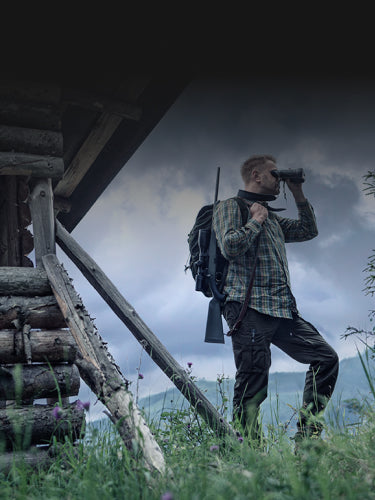
One critical aspect to consider is that digital optics typically offer very short eye relief. For example, the Pulsar Thermion 2 XP50 provides 2 inches of eye relief, while a daytime scope like the Latitude 6.25x25-56 offers 4.7 inches. Using conventional scope rings on a rifle, like an AR platform, may prove disadvantageous for some shooters. It can force them to lean in very close to their scopes, potentially leading to scope eye injuries or disrupting their cheek weld.
The optimal choice for mounting digital scopes is a cantilever mount. Not only is it a single piece of metal, eliminating much of the user error associated with mounting optics using two different scope rings, but it also provides shooters with the flexibility to adjust the mount to their unique eye relief preferences. Users can opt to mount the cantilever's rings angled away from or towards them to achieve the desired eye relief distance, thanks to the cantilever’s particular design.
To further enhance your shooting experience, consider using an eye cup cover. It helps you attain natural eye relief and prevents light splashback from the digital display, especially when hunting at night.
Additionally, some cantilever mounts with see-through bases allow users to install small backup iron sights beneath the mount or utilize the empty space under the mount itself as a makeshift rear sight aperture.
When mounting your optic, start by tightening the bottom screws of your scope rings before securing the upper screws. This allows you hold the scope in place while you’re still able to rotate it for leveling, to ensure the reticle is perfectly aligned. You can also use leveling beads to ensure that your optics are not off-center.
Once you have verified that your digital optic is level and the eye relief is suitable for your comfort, you are ready to begin shooting. Properly mounting your optic is essential for accuracy and safety, so take your time and ensure everything is in order before hitting the range or heading out into the field.
Frequently Asked Questions
1. What is the recommended method for mounting digital optics?
The optimal choice for mounting digital scopes is a cantilever mount.
2. How can I adjust the eye relief distance on my digital optic?
Users can opt to mount the cantilever's rings angled away from or towards them to achieve the desired eye relief distance.
3. What is the importance of using an eye cup cover?
An eye cup cover helps attain natural eye relief and prevents light splashback from the digital display, especially when hunting at night.
4. Should I use leveling beads when mounting my optic?
You can use leveling beads to ensure that your optics are not off-center.
5. What is the recommended sequence for tightening scope rings when mounting an optic?
Start by tightening the bottom screws of your scope rings before securing the upper screws.
