-
 2025-11-17
What Is Thermal Imaging Used For?
Thermal imaging turns heat into vision. Every object on Earth emits infrared radiation—energy invisible to the naked eye but detectable by modern sensors. A thermal imager captures those minute differences... -
 2025-10-28
How to Choose Your First Thermal Sight
You’re about to spend several thousand dollars on a piece of gear that claims to see heat, track animals through fog, and make you the apex predator of the night.... -
 2025-10-10
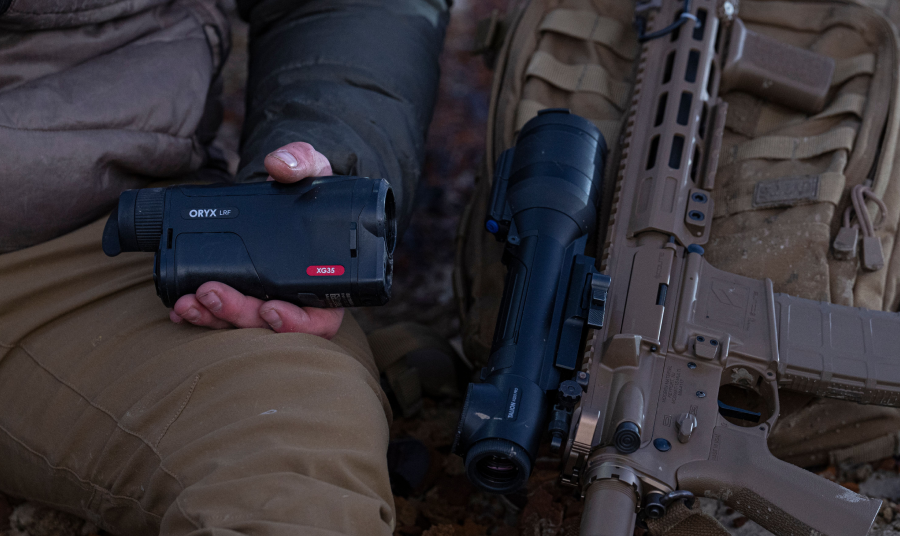
Thermal Night Vision: Pairing Monoculars with R...
A thermal riflescope is built for shooting, not for searching. Walking through the woods at night with your rifle shouldered, peering down the scope at every sound, is as impractical... -
 2025-09-25
What is a Thermal Sight?
A thermal sight, sometimes called a thermal scope, is a type of riflescope that doesn’t rely on visible light at all. Instead, it shows you heat. Every animal, person, or... -
 2025-09-03
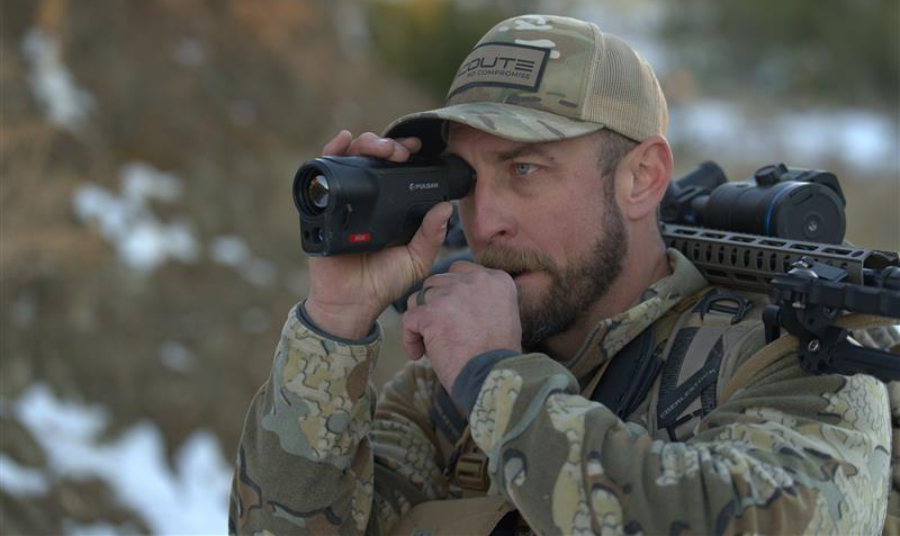
Do You Really Need a 1,640-Yard Rangefinder for...
Most hunting shots never stretch past 100 yards. A whitetail in the timber or a hog rooting under a feeder is usually inside bow range, not across a canyon. So... -
 2025-08-21
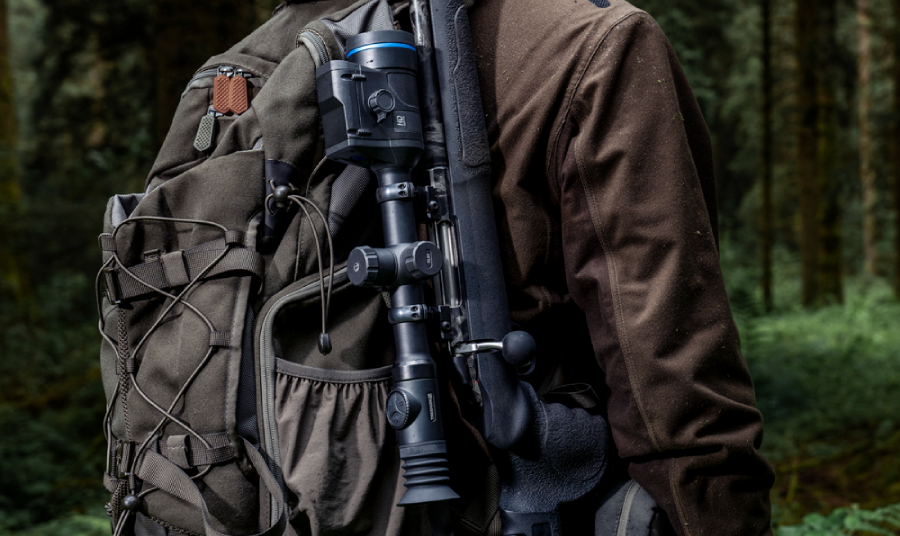
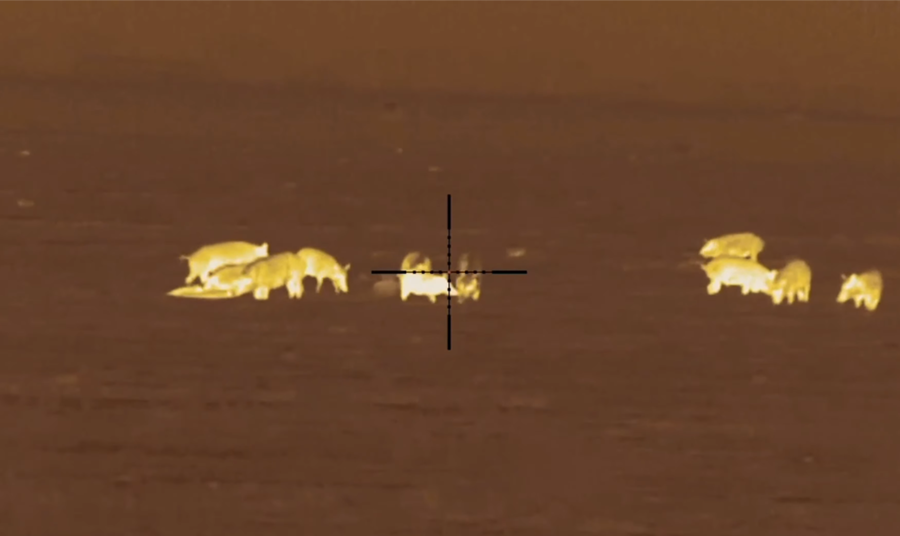
Practical Hunting Tips with the Pulsar Oryx LRF...
Thermal optics have become a go-to tool for hunters who want to track game more efficiently after dark. Animals like hogs, coyotes, and raccoons are most active when visibility is... -
 2025-08-15
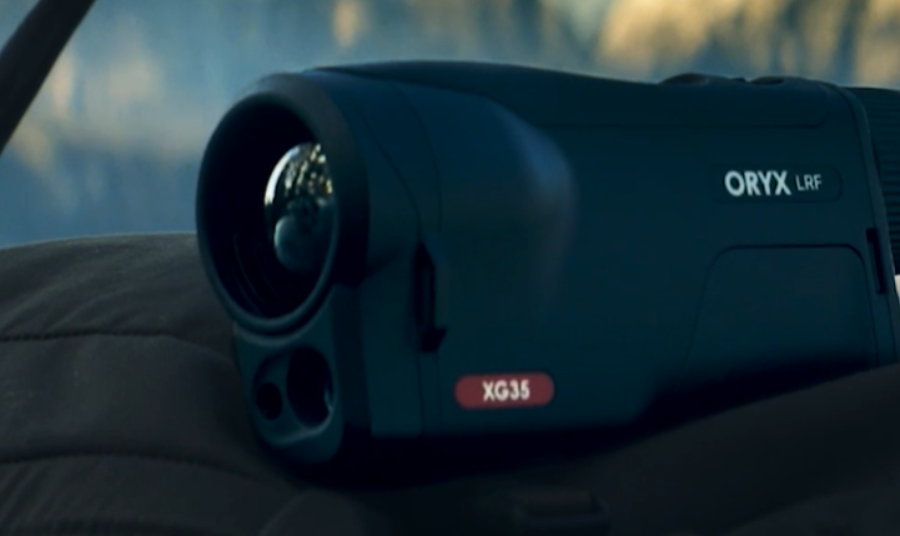
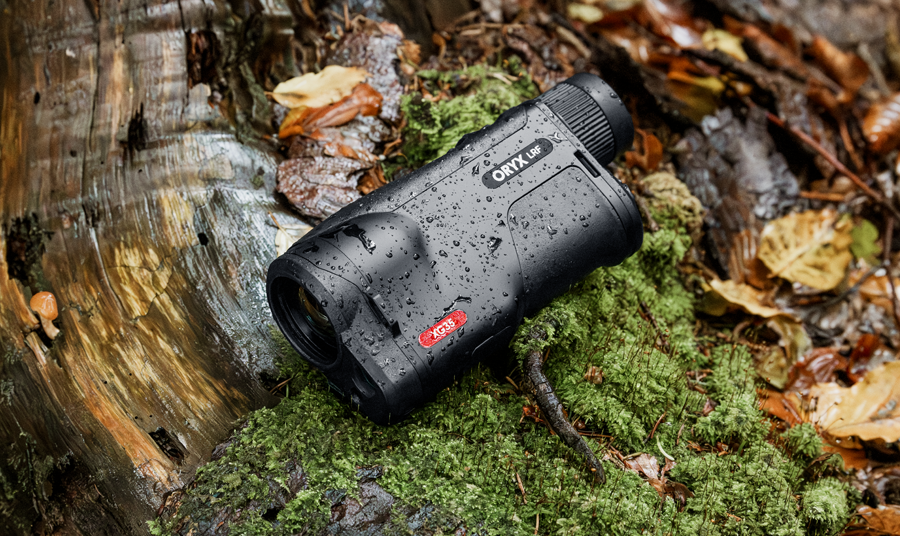
Why the Pulsar Oryx LRF Earns Its Place in a Hu...
When Pulsar released the Oryx LRF thermal monocular, it entered a market already crowded with capable optics. Yet early adopters are reporting that this unit brings together a rare combination... -
 2025-07-25
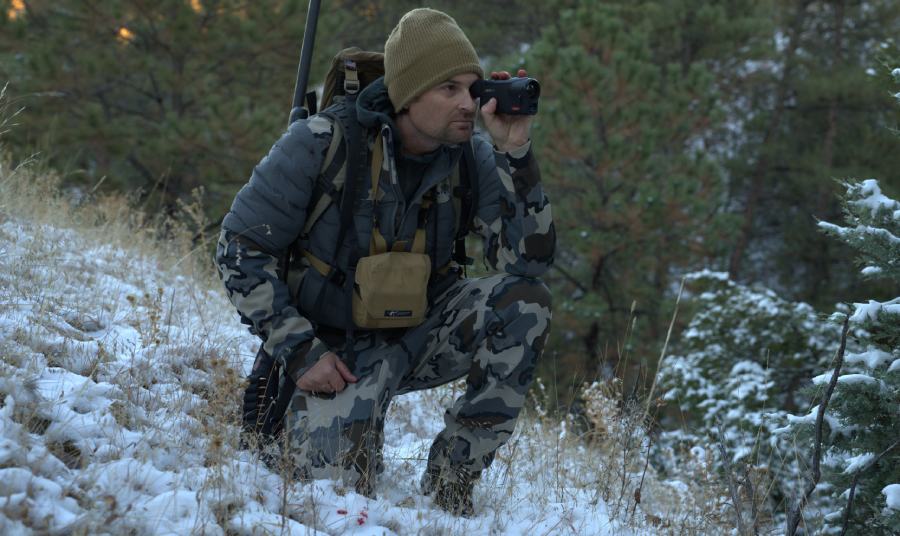
Pulsar’s Most Stable Long-Range LRF Monocular: ...
If you’re scanning fields for hogs at night, tracking coyotes across rough terrain, or working a search and rescue op in total darkness, you can’t afford to guess your ranges.... -
 2025-07-09
Why Every Serious Hunter Needs a Thermal Imagin...
Hunting success often comes down to one thing: seeing your prey before it sees you. Whether you’re posted up before first light or tracking a wounded animal through thick brush,... -
 2025-06-17
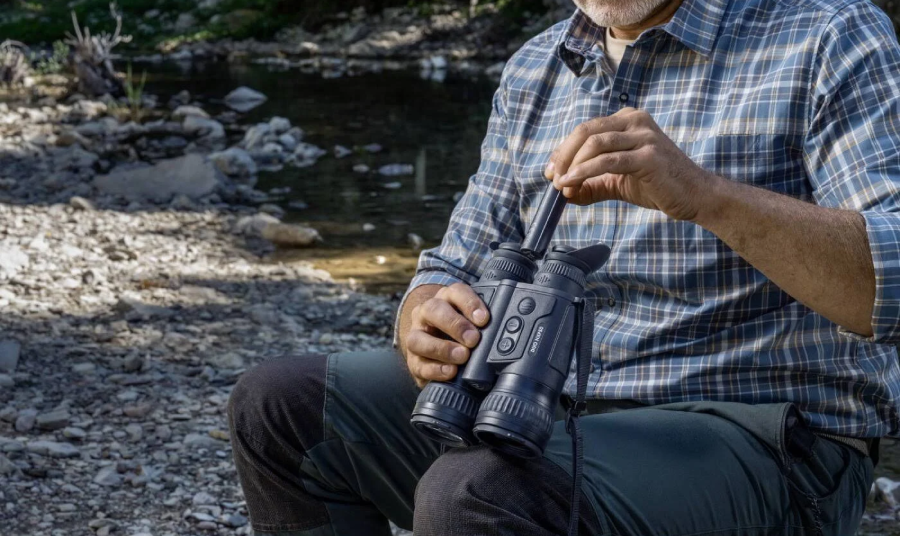
The Best Thermal Binoculars for Nighttime Surve...
Operating in darkness presents a significant challenge for hunters, law enforcement officers, home defenders, and surveillance professionals. The absence of natural light makes it difficult to detect potential threats—whether intruders,... -
2025-06-05
What Kind of Hunting is Done at Night?
When people hear “night hunting,” they often think it’s illegal. This is because hunting rules usually say you can only hunt 30 minutes before sunrise until 30 minutes after sunset.... -
 2025-05-01
Understanding the Difference Between Night Visi...
For outdoor enthusiasts, hunters, and tactical professionals, navigating the world of advanced optics can be daunting. Two of the most popular technologies used for low-light and no-light environments are night... -
 2025-04-24
Is It Illegal to Hunt Deer with a Thermal Scope
The quick answer is no—it is not illegal to hunt deer with a thermal scope in the United States. However, as with many hunting-related topics, there are nuances worth exploring... -
 2025-04-17
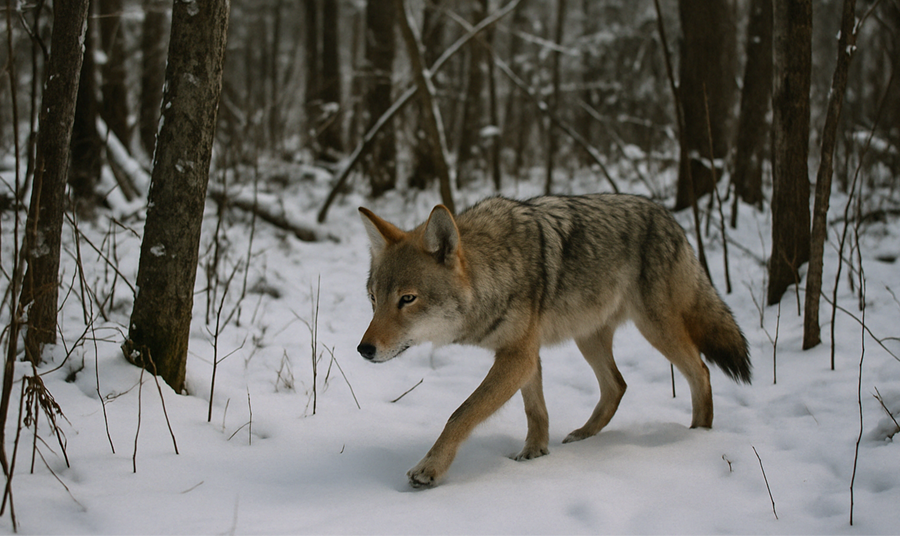
How to Set Up Your Coyote Stand
Coyotes are among the most cunning predators in North America, making them a thrilling challenge for hunters. Success often hinges on how well you set up your stand and the... -
 2024-12-30
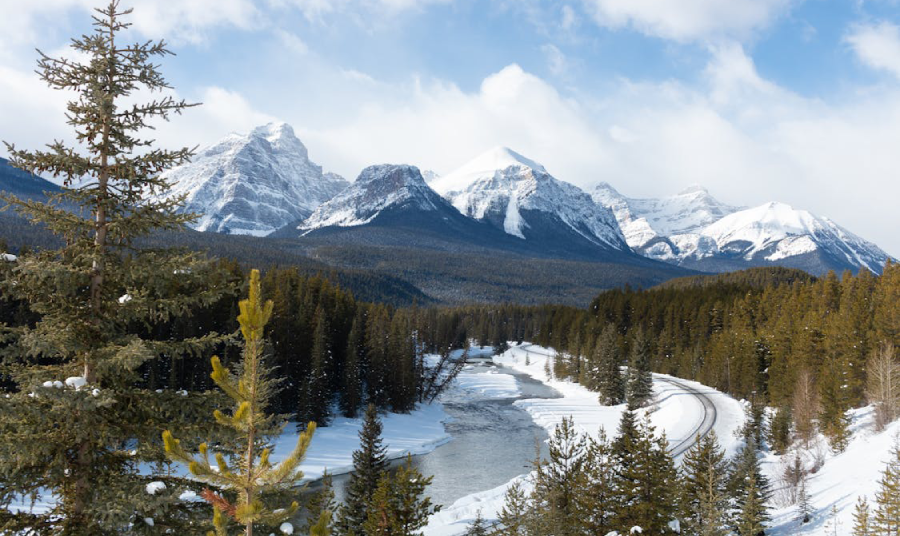
How to Transport Thermal Optics into Canada
Hunting in the great white north offers an unparalleled experience, with vast wilderness, abundant wildlife, and unique challenges that make it a dream destination for any outdoorsman. However, transporting thermal...


